Learning how to set up Apple Watch for the first time is easier when you follow the steps in the right order. The setup process guides you through most of it, but some choices can feel confusing if you are new to Apple Watch.
You may be asked about pairing, Apple ID, passcode, health permissions, notifications, cellular, app installation and shared settings from your iPhone. It is tempting to tap through everything quickly, but the first setup affects how your watch feels on day one.
This Apple Watch setup guide walks through the process in a practical order. The goal is to help you pair your Apple Watch with iPhone, choose the right options and avoid the common mistakes that make new users feel overwhelmed later.
How to Set Up Apple Watch for the First Time
Before you begin, make sure your iPhone is nearby, Bluetooth is on and both devices have enough battery. Connect to Wi Fi if possible and keep the Apple Watch on its charger if the battery is low.
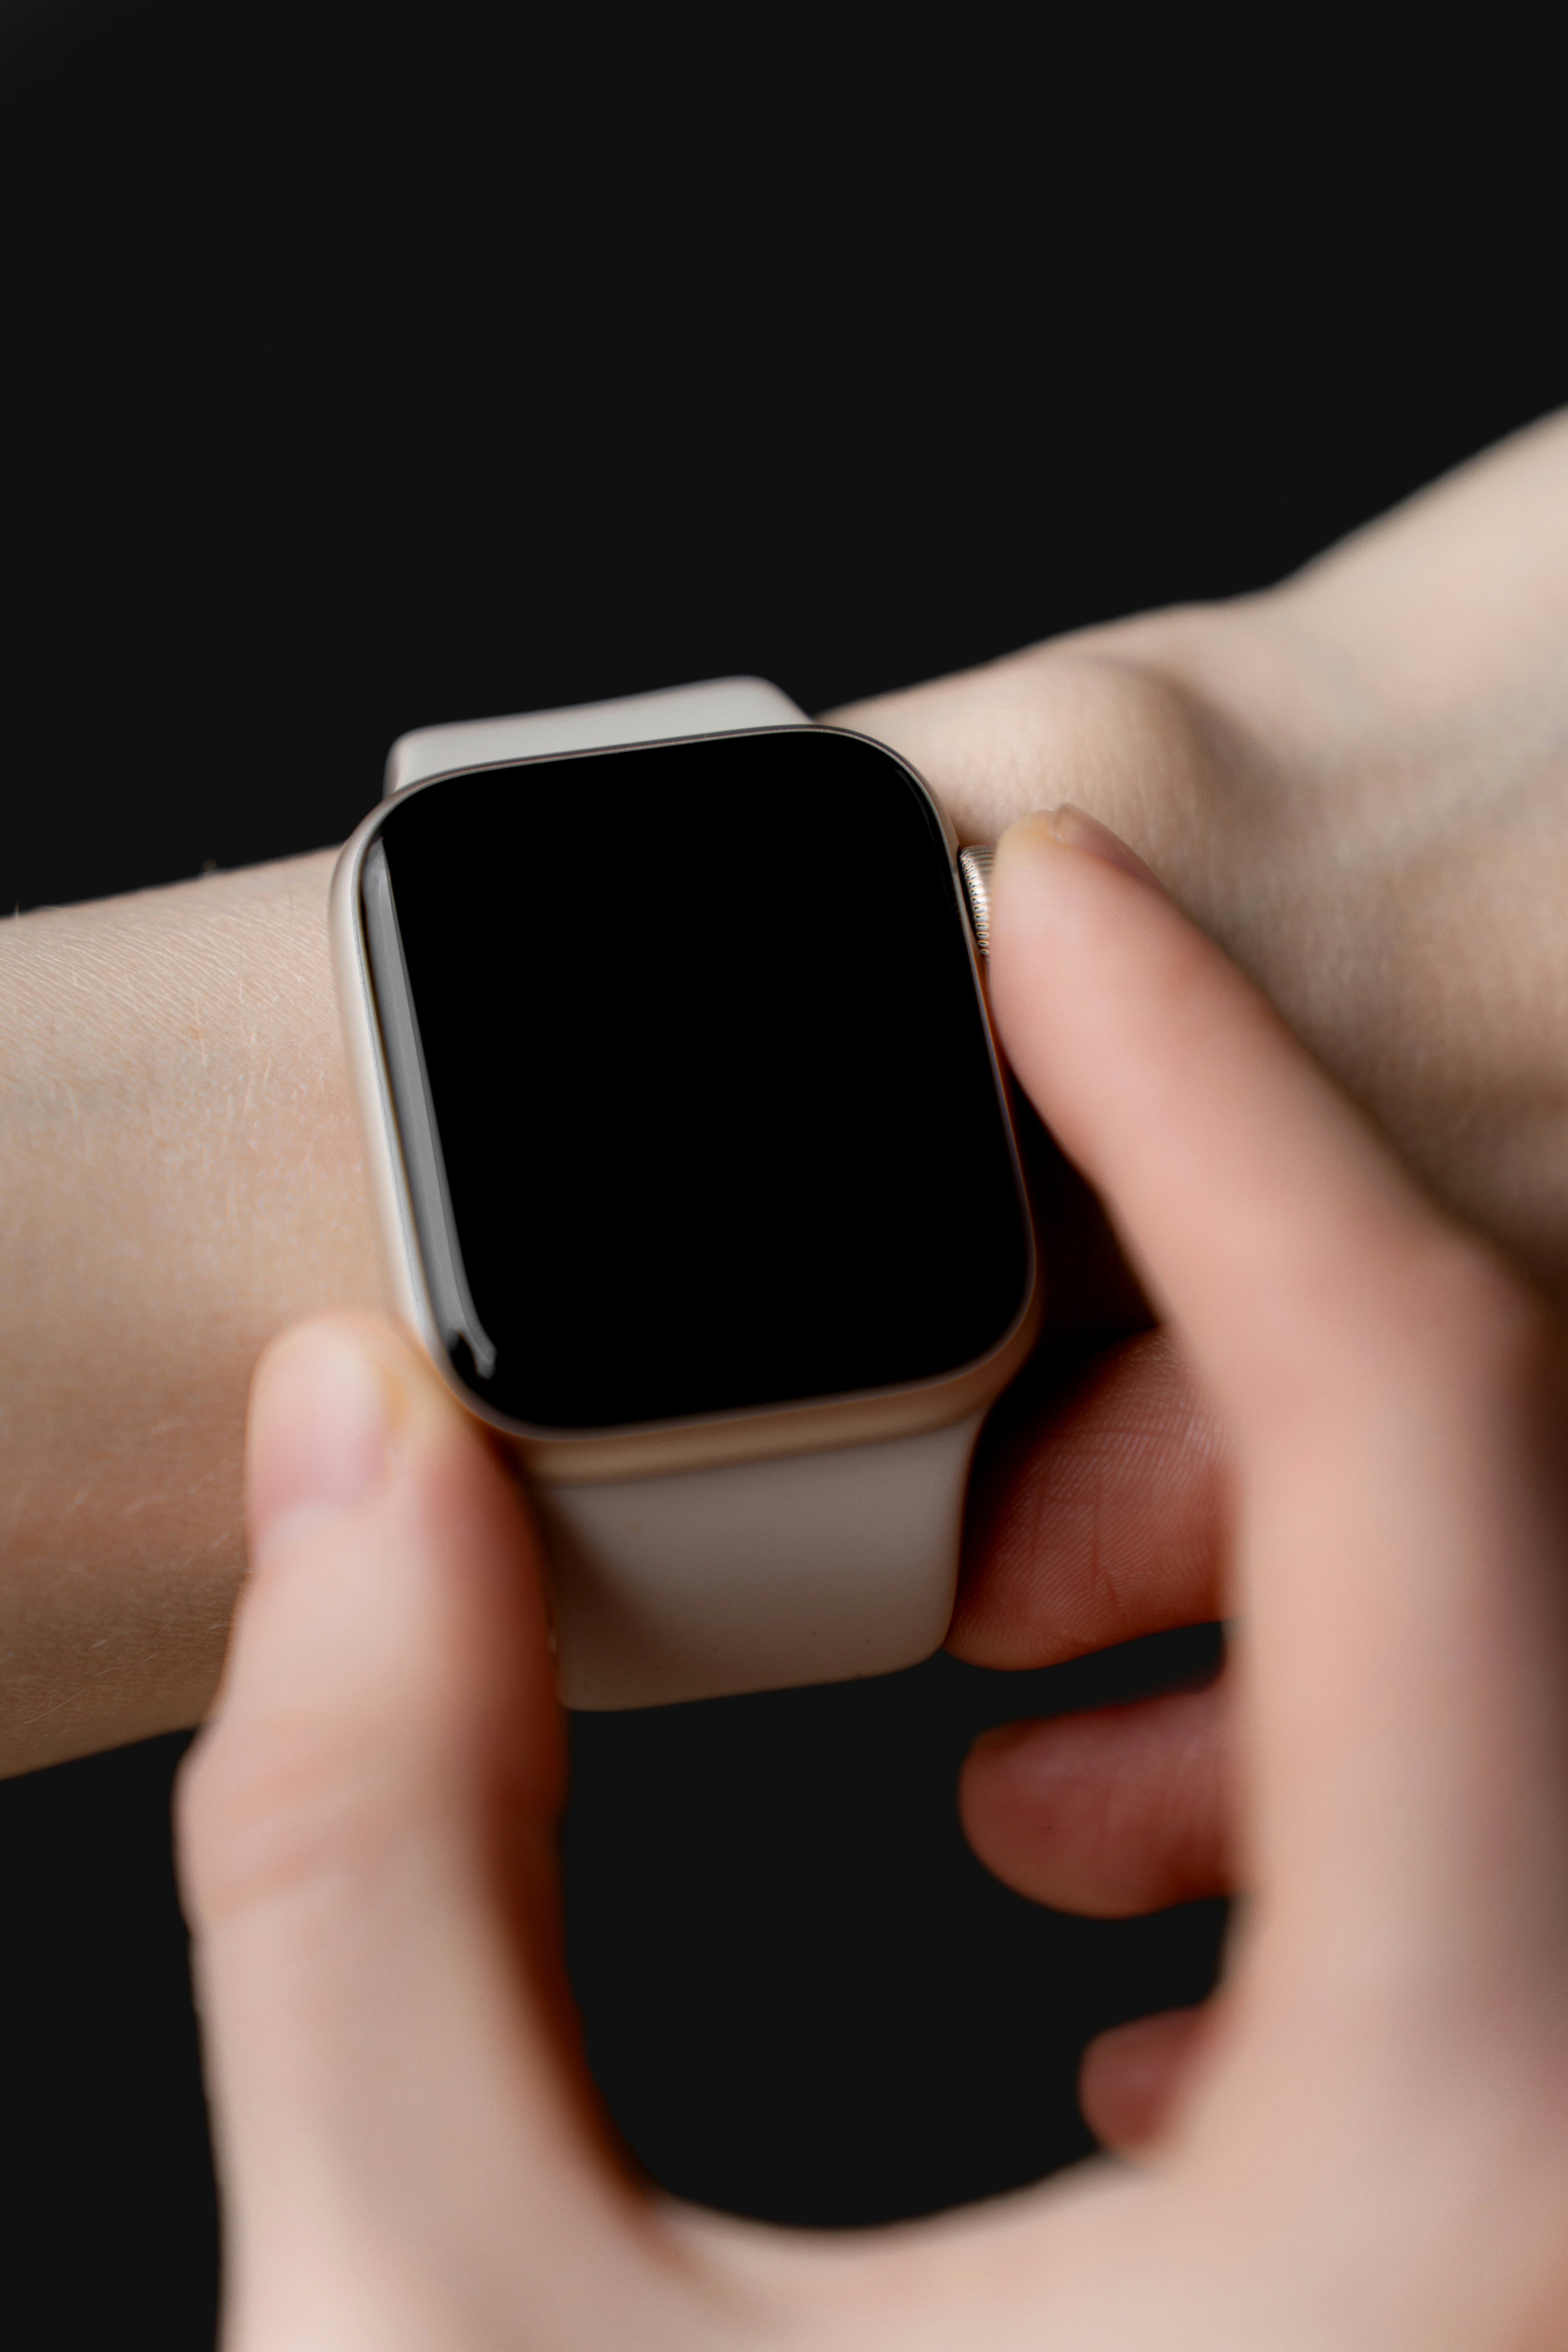
Turn on your Apple Watch by holding the side button until the Apple logo appears. Bring it close to your iPhone. A setup message should appear on the iPhone. Tap Continue and follow the instructions.
If the message does not appear, open the Watch app on your iPhone and start pairing manually.
Pair Apple Watch With iPhone
During pairing, your iPhone may show an animation on the Apple Watch screen. Hold your iPhone over the watch so the animation appears in the camera view. This connects the two devices.
If the camera method does not work, choose manual pairing and follow the code based setup.
You will usually choose whether to set up the watch for yourself or for a family member. Most users should choose setup for themselves.
Keep your iPhone and Apple Watch close together during the whole process. Moving them apart can interrupt pairing or slow setup.
Sign In With Apple ID
Your Apple Watch works closely with your Apple ID. This helps with services like iCloud, Find My, app downloads, messages and other Apple features.
In many cases, your watch will use the Apple ID already signed in on your iPhone. If you are asked to sign in, use the same Apple ID you use on your iPhone unless you have a specific reason not to.
Do not skip account related steps too quickly. If Apple ID setup is incomplete, some features may not work as expected later.
Create a Passcode
A passcode is strongly recommended for Apple Watch.
It helps protect your notifications, health data, Wallet, messages and personal information. If you plan to use Apple Pay or certain security features, a passcode may be required.
Choose a passcode you can remember. You do not need to enter it constantly because Apple Watch can stay unlocked while it is on your wrist. When you remove the watch, it can lock again for privacy.
This is one of the most important Apple Watch new user setup steps because the watch contains more personal data than many people realize.
Review Health and Fitness Permissions
Apple Watch is designed around health, activity and fitness features, so setup may ask for information such as height, weight, age and activity preferences.
These details help improve activity tracking, calories, workouts and health related estimates. You should also review permissions for heart rate, fitness tracking, sleep and other health features you plan to use.
You do not need to enable every feature immediately, but the core health permissions are worth setting up properly. If you skip them, your Activity rings and workout data may feel less accurate.
Choose Notification Settings Carefully
Notifications are one of the biggest parts of the Apple Watch experience.
During setup, you may allow the watch to mirror iPhone notifications. This means many alerts from your iPhone can also appear on your wrist.
Mirroring is convenient, but it can become noisy. After setup, open the Watch app on iPhone and review Notifications. Keep alerts that matter quickly, such as calls, messages, calendar events, reminders and health alerts.
Turn off apps that send promotions or low value updates. A clean notification setup makes Apple Watch feel helpful instead of distracting.
Decide on Cellular Setup
If you bought a cellular Apple Watch, setup may ask whether you want to activate cellular service.
Choose cellular if you want to use your Apple Watch away from your iPhone for calls, messages and connected features. This can be useful for running, quick errands, workouts or times when you do not want to carry your phone.
If your iPhone is almost always nearby, you may not need cellular right away. You can usually set it up later through the Watch app and your carrier.
For many users, GPS is enough. Cellular is best for people who want more independence from iPhone.
Choose App Installation Options
During Apple Watch first setup, you may be asked whether to install available watch apps automatically.
Automatic app installation can be convenient, but it can also make the watch feel cluttered. Many iPhone apps are not necessary on your wrist.
For a cleaner start, install only the apps you know you will use. You can always add more later from the Watch app or App Store.
A good beginner setup includes basic apps for messages, calls, activity, workouts, weather, calendar, reminders, timers, alarms and Wallet.
Common Apple Watch Setup Mistakes
One common mistake is rushing through setup without reading the options. This often leads to too many notifications, too many apps and settings that do not match your routine.
Another mistake is skipping the passcode. Apple Watch may look small, but it can show private messages, health data and payment options.
Some users also activate every notification and install every app immediately. This can make the watch feel busy on the first day.
Another setup mistake is ignoring battery and charging. Create a charging routine early, especially if you plan to use sleep tracking.
The best first setup is simple: pair correctly, protect the watch, enable useful health features, keep notifications clean and add apps slowly.
After Setup: What to Do First
Once pairing is complete, spend a few minutes adjusting the basics.
Choose a readable watch face. Add only useful complications like weather, calendar, activity, battery or timers. Open Control Center and learn where Silent Mode, Focus, Water Lock, battery and Ping iPhone are located.
Check the app layout. If Grid View feels confusing, try List View. Then review notification settings and remove apps you do not need on your watch.
These small changes make Apple Watch easier to use from the first day.
Conclusion
Knowing how to set up Apple Watch for the first time helps you avoid confusion later. Pair it carefully with your iPhone, use the right Apple ID, create a passcode, review health permissions, choose notification settings wisely and decide whether cellular is truly needed.
After setup, keep things simple. Choose a clear watch face, install only useful apps and adjust notifications before they become distracting.
A good Apple Watch first setup is not about turning on everything. It is about creating a clean, secure and practical watch experience from day one.